Twin Post with Pretty Quirky: Hard Candy

Firstly, this is going to be my last post for a while as I underestimated just how busy my summer job would be and right now I barely have time to get a fresh coat of polish on my nails, let alone do any nail art or blog about it. So I’ll be back in August.

This is a great post to leave you on though as I was paired up with the super talented Morven who not only blogs about her beautiful nail art but also has her own line of indie polishes (which I’m definitely gonna try soon)

The group theme for the month was candy and we got hard candy. We both likes the idea of swirly spirally patterns and it reminded me so much of water marble patterns that I suggested we do candy coloured water marbles. My water marbling has always been a bit hit and miss but I’m pretty pleased with how this turned out.

20140627-104545.jpg

Check out Morven’s hard candy water marble here

I’m having problems with the inlinkz but will try and add it in when I’m at a computer so you can see what the others in the group have come up with.>

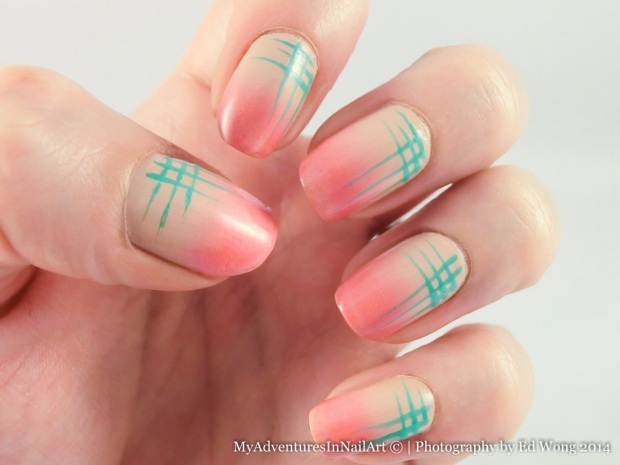
Tri Polish Challenge: Coral, nude and turquoise gradient with stripes

I liked the idea of doing a gradient with the nude and coral polishes but wasn’t sure what I’d use the turquoise for this time. I thought about a plaid or grid-like pattern but thought it might be a bit overwhelming so I decided on very simple sketchy plaid design to one side of the nail. I was also running low on time as I was meant to be packing for my trip to the UK and needed a quick design I could do easily.

I’m quite pleased with the results and like how the sketchy plaid lines have come out. The gradient could have been a little smoother but I like how the colours work together.

My summer in the UK is going to be an extremely busy one so I’m afraid I’ll be scaling back the posts on here – it’s likely to be just one or two a week until September when I’ll be back home and back to my regular routine. I’m also minus my photographer/husband over the summer so forgive me if the pictures aren’t up to their usual standard over the next couple of months.

Anyhow, here’s my Tri polish mani:

20140618-143828.jpg

Techniques Challenge: One Stroke

I can’t believe I forgot to post these earlier in the week!

This was my first try at one stroke nails and I have to admit I don’t think I really had the right tools for it. My brush was short and square but I don’t think it’s a proper one stroke brush, and the acrylic paint I used is more like artist’s acrylic than craft acrylic.

Anyway, what I’m building up to saying is that it was really difficult! I knew it wasn’t the easiest technique and one which required a lot of practice, but it was still mildly disappointed at my terrible attempts!

I noticed that a lot of really nice one stroke nails also involve quite a bit of freehand outlining and detailing, so I decided to try a very simple bit of one stroke and then pretty it up with some freehand painting. I found this tutorial by Iva Noli for a simple butterfly design with just two little one stroke petals. I thought it was a good place to start!

It worked out really well and I loved my butterfly nails. I did manage to smudge my middle finger and tried to paint it back in but you can clearly see where it’s dotty paint and not one stroke. Nevermind. I’m really pleased with the rest of the nails and if I try one stroke again I’ll shell out for a better brush and some more liquids paints!

20140615-190118.jpg

Tri Polish Challenge: Turquoise, Nude and Coral Dragonflies

I wanted to do something summery and I started thinking of the beautiful fabrics on Japanese yukatas, which I remember admiring when I lived there. A pattern that I really liked was one with simple dragonfly shapes and I saw in it loads of different colours and styles. I always liked the summer festivals in Japan with all the girls in traditional dress, food stalls and people carrying shrines through the streets.

I decided to try and recreate the dragonfly pattern with this month’s tri polish colours. I stayed by painting my nails in a nude shade and then sponged a coral polish over the top. It came out a bit more sheer than I expected and just kind of changed the nude polish into a pinky orangey one with a hint of a shimmer. Then I painted the very simplified dragonfly shapes in a dark turquoise shade and I think they came out quite well.

20140612-231321.jpg

I used: Don’t Pretzel My Buttons – OPI, Secret of Love – Anny, Life is a Freeride – Essence

Techniques Challenge: Watercolour Nails

I wasn’t sure exactly what water colour nails involved and I found various different techniques all labelled as watercolour effect nails. I quite liked the idea of the technique using blobs of polish spread around and marbled together using a piece of a plastic bag. I followed this tutorial by Makeup Savvy

I wanted to use warm feeling spring/summer colours and went for greens and yellows. It was a very simple technique to do but I think a bit more experimentation would get a better result. The bright green I used didn’t seem to spread as well as the other polishes and looks a bit blobby rather than smooth and marbled. I also have to admit that I fell asleep before these were completely dry so the might have a bit of a weird texture to them, most likely from my sofa…

I can definitely see myself trying this technique again and testing out different polishes and colour combinations (and not falling asleep!) to try and get a really smooth look.

20140606-004540.jpg

I used: Tracie – Zoya, Lime Cocktail – Sephora, Crush On You – Orly, Melodious Utopia – Orly

Tri Polish Challenge: Turquoise, Coral and Nude

I was glad to have a new colour theme and this is certainly an interesting one. Coral is a colour I’ve always struggled with and I don’t think I really own any true coral polishes, they’re either pink with a hint of orange or orange with a hint of pink! So I hope the ones I choose for this month will be coral enough, otherwise I’ll just have to go out for a little polish buying trip to find a nice coral or two…

This is one of my favourite turquoise polishes – Essie’s Where’s My Chauffeur? And I have quite a few turquoises. I don’t have quite so many nude polishes so this month will be interesting.

This week is a crazy busy week for me so I needed a nice simple design for my nails. And this is one of the most simple things I’ve had on my nails for a long time which made a nice change!

20140604-231519.jpg

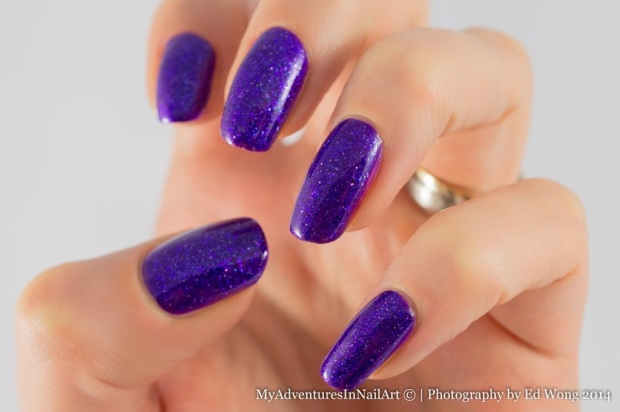
Cirque – Queen Majesty

Here are the sparkles I had on my nails over the weekend. Actually quite a bit longer than just the weekend as Thursday and Friday were local holidays soi think I had this on for about 5 days. I rarely get to test the durability of a polish but I was amazed that after a long weekend of camping and going to the beach my nails looked pretty much as awesome as when they were freshly painted! There was zero chipping and minimal tip wear and this polish looked insanely beautiful in the bright sunshine!

I was impressed with the amount of sparkle when I put it on in the evening but utterly amazed by just how glittery it was while sitting on the beach admiring my nails, tilting them to see all the amazing sparkles and reflections in the light.

I used two coats of Queen Majesty over two coats of Picture Polish’s Violet Femme. This is the first polish I’ve bought from Cirque and I’ll definitely be back for more cos I love this one!

My picture was taken indoors under artificial lights and it just looks so much better in natural light. I will have a trawl through my holiday snaps and see if I have a shot that shows them in their full glory and add it in later.

20140603-125703.jpg

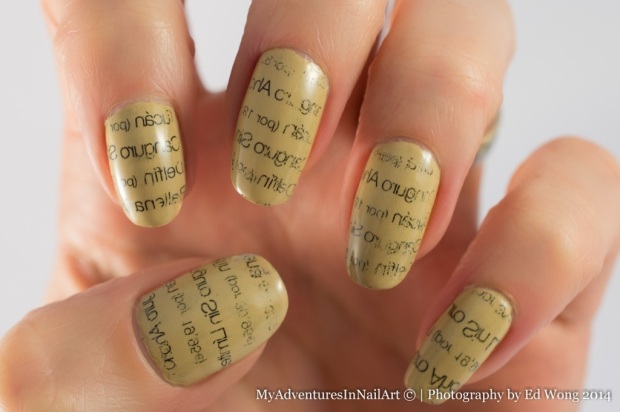
Techniques Challenge: Newspaper Nails

Oh so horrifically late, I did these last week and completely forgot to post them before I went away on holiday to Portugal for a long weekend. I had tried newspaper nails once before on one nail but this was my first proper attempt at full on newspaper nails.

I found it took a bit of experimenting with different alcohols and paper/print types to figure out what worked best. It turned out that cheap tequila and a non glossy but colour leaflet were my best combo!

I wanted to try and get a regular print so used a phone renewal leaflet/brochure which had the same calling plan information on every page to try and get them all looking similar.

They didn’t turn out as neat as I’d have liked but I was happy enough for a first real attempt. I have two photos, one with the print backwards as it came out and then a flipped image so the text is readable. Which do you think looks better?

20140602-223155.jpg

20140602-222944.jpg

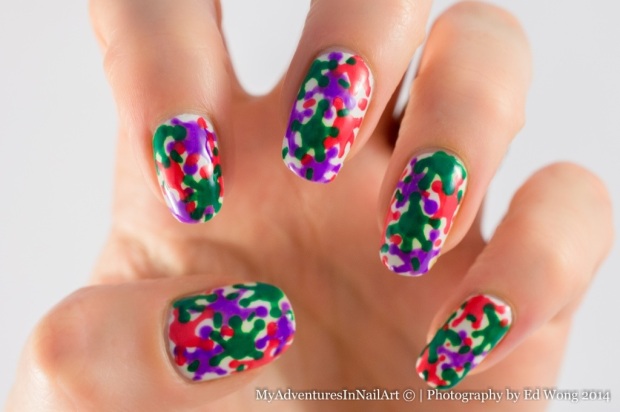
Tri Polish Tuesday: Red, Green and Purple Splats

I’m just not managing to post on time these days, am I? Still, better late than never! I haven’t been all that keen on this month’s colours for the Tri Polish challenge and can’t say I’ll be sad to see them go and have new colours to work with next week.

I decided to try doing colour splats – I’d never tried this design before and thought it looked really fun. I found that it was trickier than it looked to get nice shaped splats and I have a feeling it’s one of those designs where less is more. Unfortunately I went for more and I think my nails look too busy and crowded.

At first I hated it and wanted to take it straight off, but it grew on me and the kids in my classes thought it was fun and crazy (which is high praise from 8 year old Spanish kids!)

If I try this design again I’ll limit the number of splats per nail and practise getting nicer shaped splats on paper before I go crazy on my nails!

20140529-115908.jpg

I used: My boyfriend Scales Walls РOPI, Are You Jelly? РChina Glaze, Knightsbridge Green РNails Inc, Play Date РCiat̩

Twin Post with The Polished Fangirl: Hibiscus

I’m back with another twin post. This month I was paired up with Erika from The Polished Fangirl for the theme of flowers. Our flower was hibiscus which we were really pleased about as it’s a favourite for both of us.

We agreed that a flower like this requires some bright tropical shades and wanted to use a turquoise background and a pink flower. I was inspired by this beautiful photo and while browsing what other people had done with hibiscus nail art came across this beautiful manicure by Pretty Project which is almost exactly what Erika and I had been talking about doing.

Initially I didn’t intend to do an accent nail with rhinestones like she had done but after a horrible break on my index finger earlier in the week I thought it was the best way to hide a nail that’s not a particularly nice shape at the moment!

I’m really pleased with how this mani turned out. Make sure you check out Erika’s hibiscus nails and the other participants in this month’s flower themed twin post through the inlinkz. (We’re posting all this week so check back later if it’s looking a bit empty at the moment!)

20140524-203010.jpg

I used: 389 РKiko, Hoopla РCiat̩, Indian Rose РRituals, Melodious Utopia РOrly